Someone set up Doota and created an account for you. This walks you through your first few minutes — no technical know-how needed.
1. Find your invite
Check the inbox of your personal email (the one you gave the person who set you up — a Gmail or similar). You’ll have a message from Doota with three things:
- Your new Doota email address (something like
you@yourcompany.com). - A temporary password.
- A link to confirm this recovery email.
2. Sign in
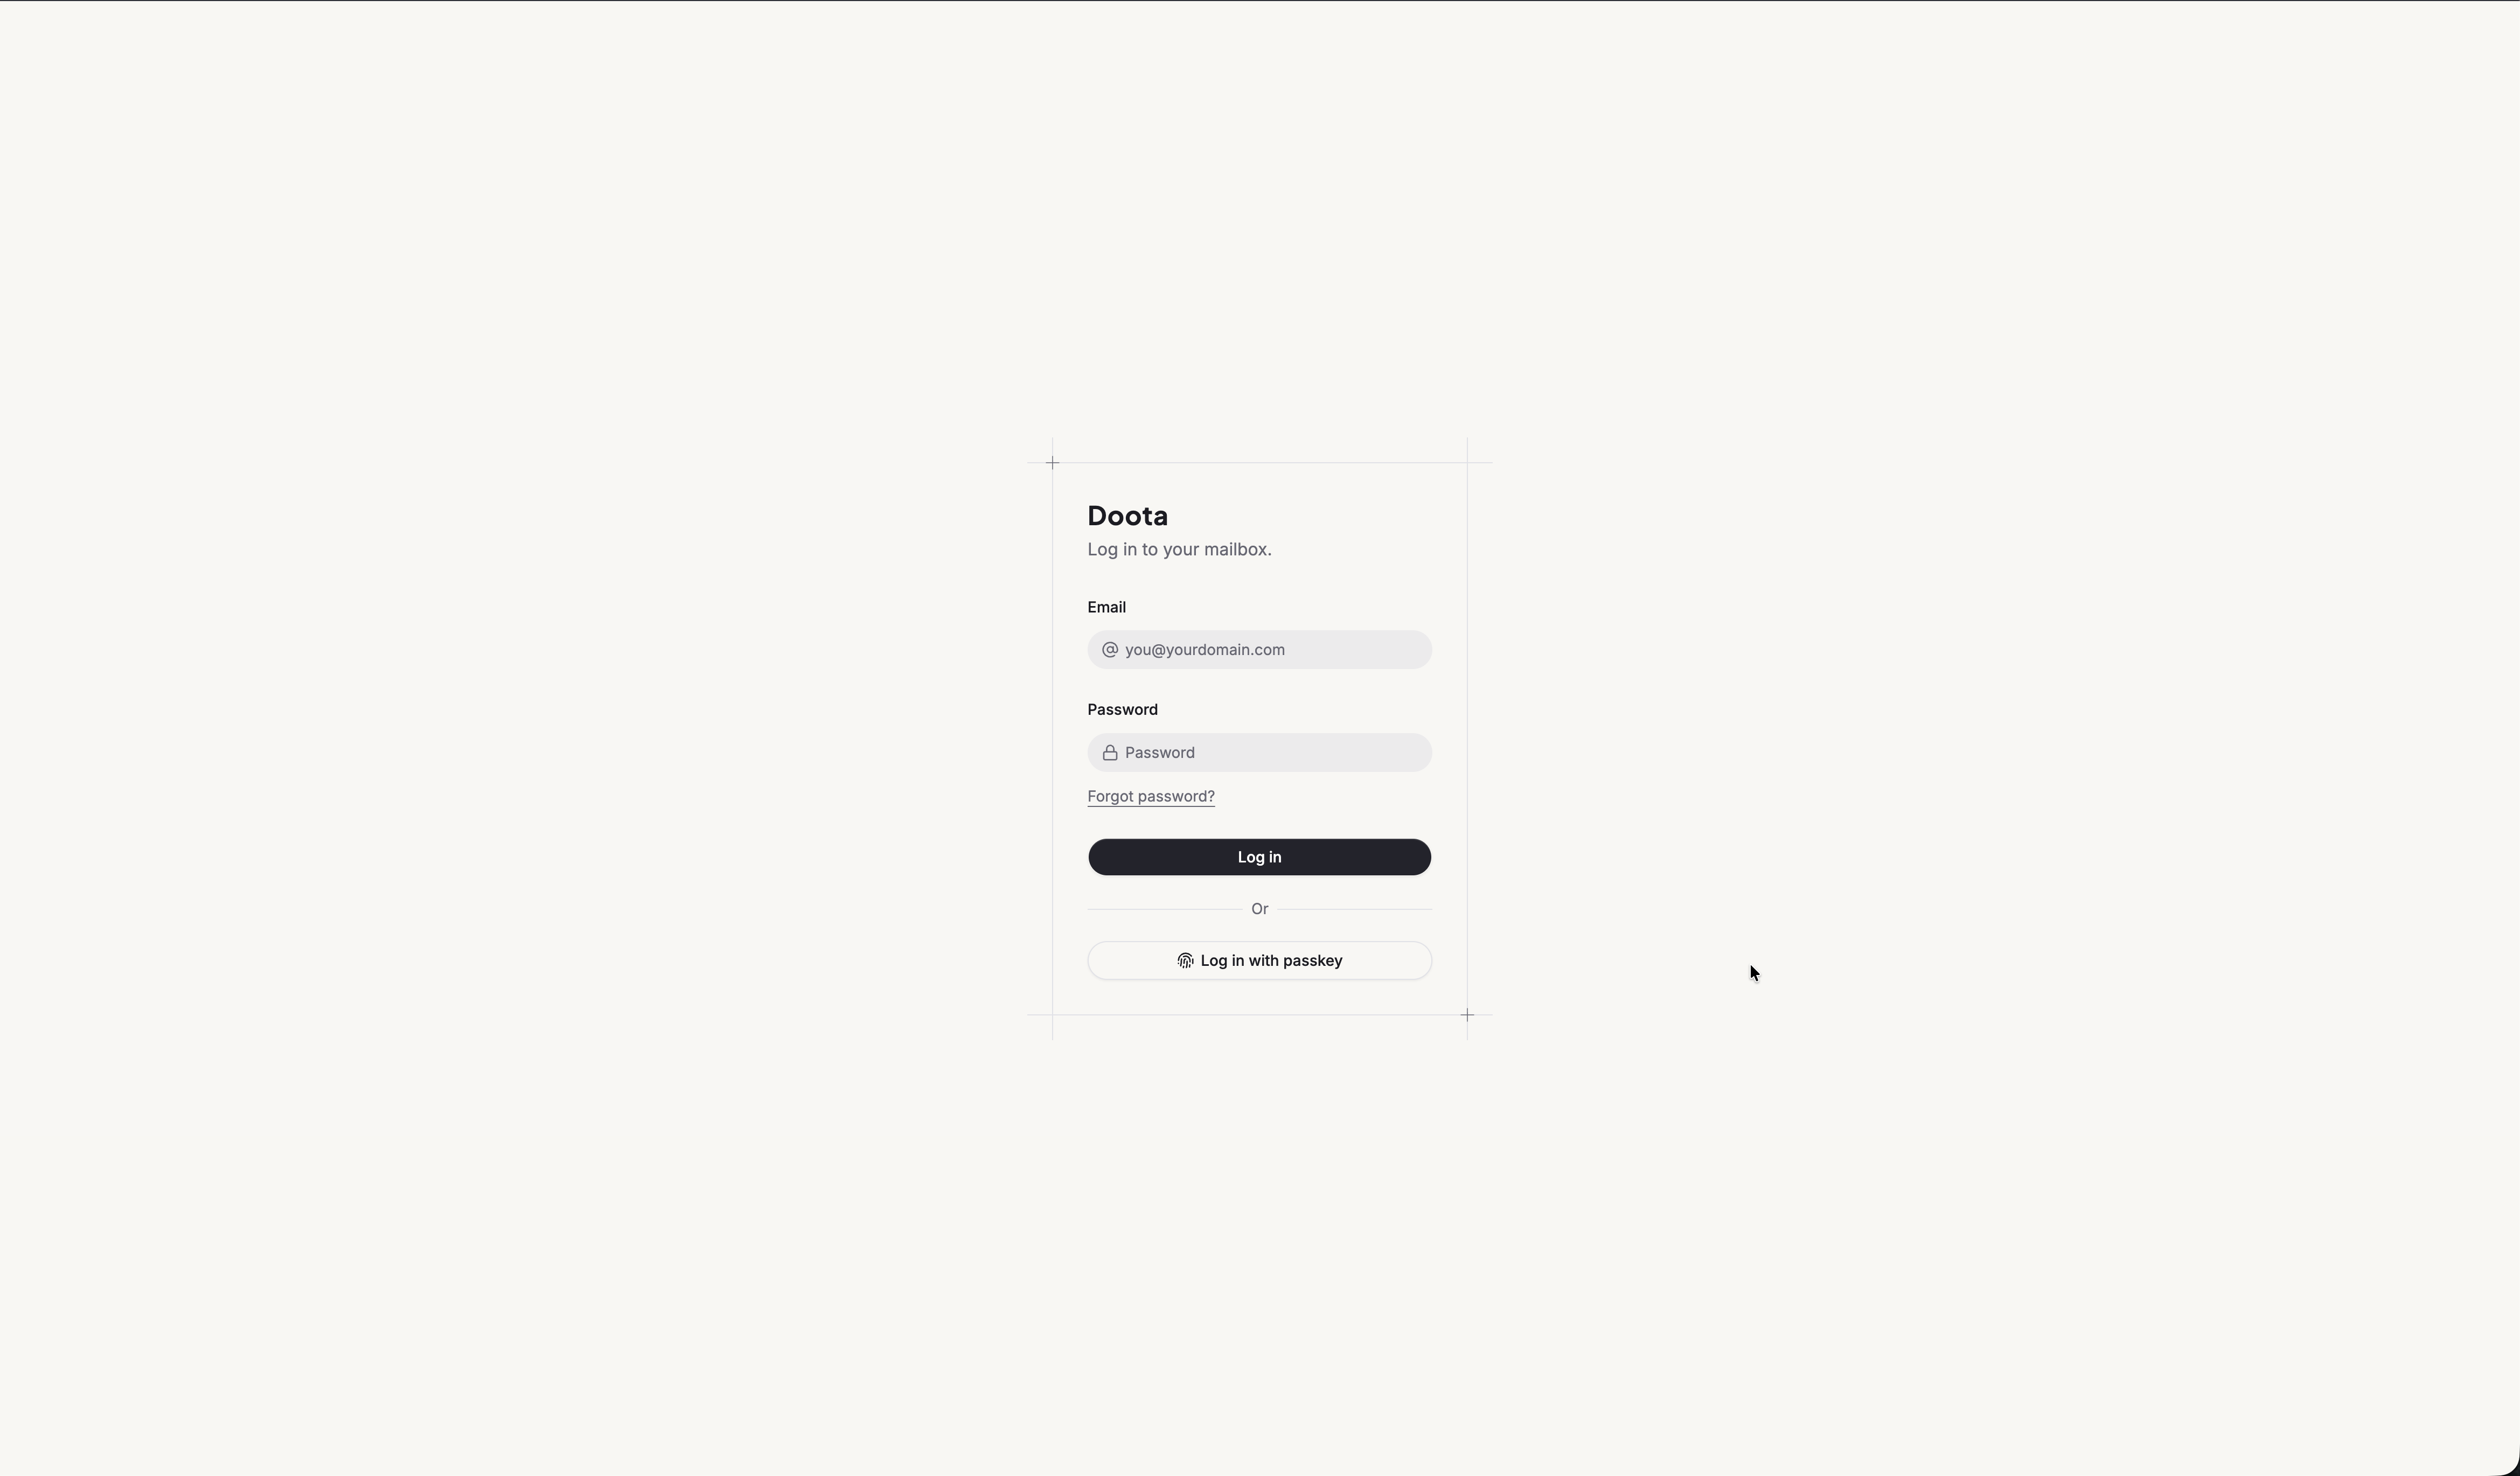
Open Doota
Go to the Doota web address you were given (for example
mail.yourcompany.com).
Enter your details
Type your new Doota email and the temporary password from the invite.
Continue
Doota signs you in and walks you through a short setup.
3. Finish setup
The first time you sign in, Doota asks you to do a few quick things. It won’t let you into your mail until they’re done — they keep your account yours.
Choose your own password
Replace the temporary password with one only you know. Pick something long and hard to guess.
Confirm your recovery email
This is a personal address (not your Doota one) used to get you back in if you’re ever locked out. Click the confirm link from the invite, or ask Doota to resend it.
Add a second layer (if asked)
Depending on your role, Doota may ask you to set up a passkey or an authenticator app. See Signing in safely — it’s quick and makes your account much harder to break into.
4. Send your first message
You’re in. Your mail looks like a chat:
Start a message
Click compose (usually a pencil or “new” button).
Fill it in
Add who it’s going to, a subject, and your message — just like any email.
Send
Hit send. You’ve got a few seconds to undo if you spot a typo. Watch it move from sending to delivered right in the conversation.
That’s it — you’re up and running.
What next?
Reading & organizing
How conversations, stars, and labels work. See Inbox & conversations.
Writing messages
Replies, drafts, undo, and scheduling. See Writing & sending.
Throwaway addresses
Give each site its own address. See Extra addresses.
Account safety
Passwords, passkeys, and recovery. See Signing in safely.